Accessing your WAF add-on
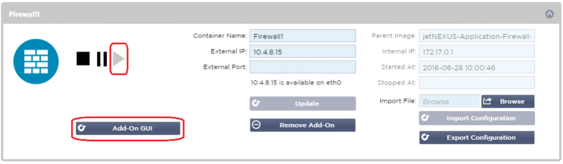
· Fill out the details for your Firewall
· You can either restrict your Ports to what you need or leave it blank to allow all ports
· Click the Play button
· An Add-On GUI button will appear
· Click on this button, and it will open up a browser on HTTP://[External IP]:88/waf
· In this example, it will be HTTP://10.4.8.15:88/waf
· You will be presented with a login dialog.
· Enter the credentials for your ADC.
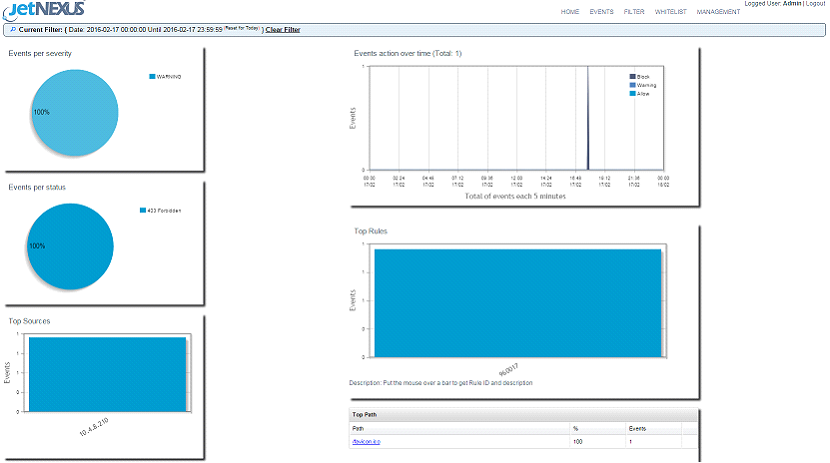
· On completion of a successful login, you will be presented with the home page of the WAF.
· The home page displays a graphical overview of the events, i.e., filtering actions performed by the Application Firewall.
· The graphs will most likely be blank when you first open the page as there will be no access attempts through the firewall.
· You can configure the IP address or the website's domain name you would like to send the traffic to after the firewall has filtered it.
· This can be changed in the Management > Config section
· The Firewall will inspect the traffic and then send it to the Real Sever IP or VIP address here. You may also enter a port along with your IP address. If you enter an IP address on its own, the port will be assumed to be port 80. Click the “Update Configuration” button to save this new setting.
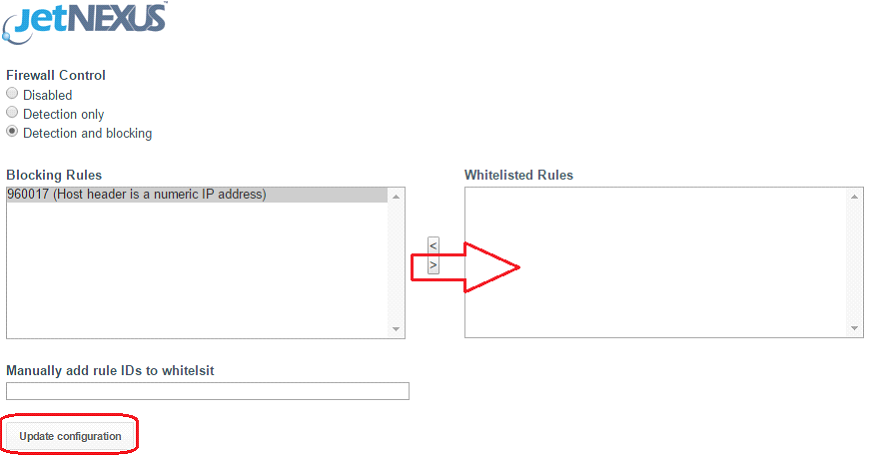
· When the Firewall blocks an application resource, the rule that is blocking traffic will appear in the Blocking Rules list on the Whitelist page.
· To prevent the firewall from blocking the valid application resource, please move the blocking rule to the Whitelist Rules section.
· Press Update Configuration when you have transferred all the rules from the Blocking section to the Whitelist section.